1. Download the ISO
So you want to create a bootable Ubuntu USB from Windows? Start by heading over to ubuntu.com and download the appropriate image for the version you want to install.
2. Download a tool to write the ISO
Rufus is a free tool to create bootable USB from an image. You can get it at rufus.ie.
3. Start Rufus
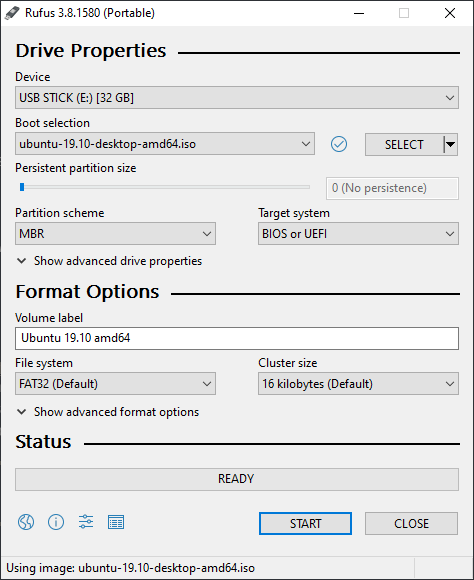
After you have downloaded Rufus. Run it and you should see a window like the image below.
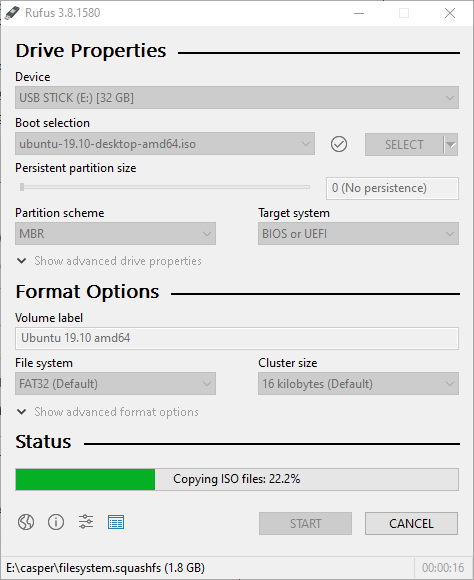
Choose which device you want to write to and load the image you just downloaded. You should be able to use the default options in most cases. After you have verified the settings, you can click START.
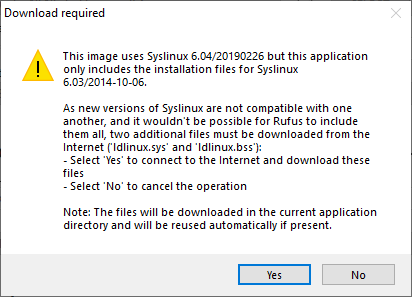
You might get a warning that you have to download an other version of Syslinux. This is normal since Rufus can’t have all possible versions of these files included.
Just click Yes and continue.
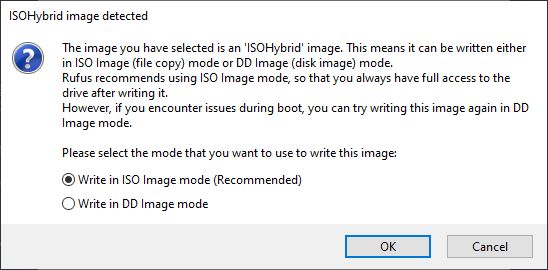
You will most likely get an other warning about the format of the image. Here you can chose Write in ISO Image mode. Which is the recommended option.
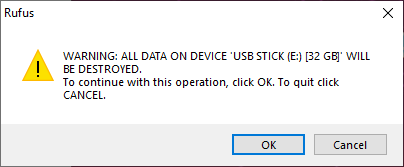
Wouldn’t you think we were done with the warnings now. Nope, one more! This time pay attention! The program will delete any data that is already on the USB stick you chose.
Make sure the label and size of the drive listed match what you expect from your USB stick. If you chose the wrong drive in the first menu, you might destroy your data. Then click OK.
Now just wait while Rufus writes to the drive. When it says “Ready”, you can reboot and boot into the Ubuntu install.