

Decompressing compressed files is one common task in Linux administration. Most of the time, the files will be in formats like tar.gz, bz2 or 7zip. But occasionally you will run into the very common zip format. Distributing files in the zip format is usually done when you want people to be able to open the file on any operating system. Since most will have a zip utility pre-installed.
If you are working on a desktop system, opening a zip file is usually as simple as double-clicking the file. Your file manager will usually open the file in a common progam like Gnome’s File Roller. But if you want to unzip a zip file on the command line, you should read on.
Install the zip Package
Before you can unzip files in Linux, you need to ensure that the necessary software to handle ZIP files is installed on your system. Most Linux distributions come with ZIP and UNZIP utilities pre-installed, but in some cases, you might need to install them manually.
To check if the ZIP package is already installed on your system, you can use the following command in the terminal:
zip -v
If the ZIP package is not installed, you will receive an error message. To install it, you can use your distribution’s package manager. For Debian-based systems like Ubuntu, you can use apt-get, while for Red Hat-based systems like Fedora, yum or dnf is the standard tool. Here are the commands for each:
Debian / Ubuntu
sudo apt update
sudo apt install zip
Fedora / Red Hat
sudo dnf install zip unzip
Unzip a Zip File
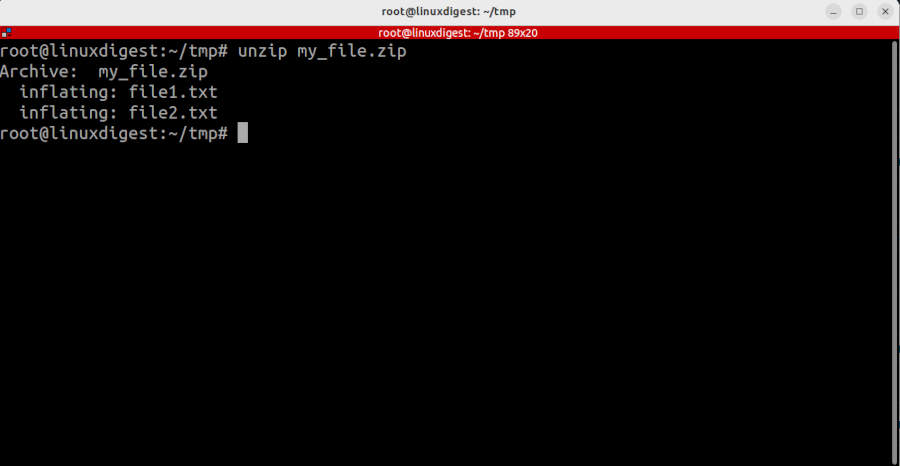
Once you have the neccessary packages installed, you should be able to unzip the file. Navigate to the correct directory and run the unzip command:
unzip my_file.zip
This will extract the contents of the file into the current directory. If you would rather unzip into a different directory, you can use the -d option, like this:
unzip my_file.zip -d /path/to/directory
Create a Zip File
Creating a zip file is just as simple as extracting one. Just use the zip command, which is the inverse of unzip. Here is a simple example where we compress two files, file1.txt and file2.txt into an archive named my_archive.zip:
zip my_archive.zip file1.txt file2.txt
Now, let’s imagine that instead of single files to compress, you have an entire directory you want to compress. In this case, you will need to add the -r (recursive) option. In this example we have a directory named example/ that we want to compress.
zip -r examplearchive.zip example/
Add to a Zip File
What if you forget to include a file in the archive? No problem, you can easily add a file to an existing archive using the same process. Let’s say you want to add file1.txt to the examplearchive.zip above. Just run the exact same command as if you were creating a new archive but use the path to the original archive.
zip examplearchive.zip file1.txt
List the Contents of a Zip File
It can be useful to peek inside a zip archive before you decide if you want to unzip it. In this example we will list the contents of our file examplearchive.zip above. I’m using the unzip utility with the -l option for this.
unzip -l examplearchive.zip
This command should return something like this:
  Length      Date    Time    Name
---------  ---------- -----   ----
        0  2023-12-16 16:42   example/
        0  2023-12-16 16:42   example/subdir1/
       50  2023-12-16 16:42   example/subdir1/file2.txt
     1870  2023-12-16 16:42   example/subdir1/script1.sh
        0  2023-12-16 16:43   example/subdir2/
    36244  2023-12-16 16:43   example/subdir2/file3.txt
       82  2023-12-16 16:41   example/file1.txt
       15  2023-12-17 14:25   file1.txt
---------                     -------
    38261                     8 files

Grep a Zip File
Now I want to find a line of text in the archive. Of course I could unzip the archive and then recursively run grep on the extracted contents before deleting the decompressed files. But there is of course a better way.
To do this I will unzip the file into standard output and pipe it to the grep command:
unzip -p examplearchive.zip | grep example
For a relatively small archive this should be a fast task and you don’t have to perform any cleanup afterwards. However, this might not be very efficient if you are dealing with very large archives.
Unzip a Specific File From a Zip File
Usually when you decompress a zip file, you will get all the files that it contains. Sometimes you are just trying to get one or two files within the archive. You can actually extract only the specific files you want and ignore the rest. This is actually quite simple to do. Let’s say you want to get the file example/subdir2/file3.txt. All you need to do is add the path of the file to the end of the unzip command:
unzip examplearchive.zip example/subdir2/file3.txt
This will extract only this single file. You could add more files to the command line if you need more than just the one file. In this example we will get the same file as before but also the file file1.txt.
unzip examplearchive.zip example/subdir2/file3.txt file1.txt
If you want to stop unzip from creating the directories for the files, like file3.txt in this case, just use the -j option. Then all files will be extracted directly to the current directory
The unzip utility will also accept wildcard expressions. So to get all files that have the txt file extension, let’s try specifying ‘*.txt’. Remember to add quotation marks around the wildcard expression. Otherwise your shell my try to evaluate it into some thing you did not intend.
unzip examplearchive.zip "*.txt"
Unzip Password-Protected Zip Files
One more edge case I would like to cover: Password-Protected archives.
Zip offers the ability to encrypt archives using a password. To create such an archive, all you need to do is add the -e option to the command line. The zip utility will prompt you for a password.
zip -e password_protected.zip file1.txt
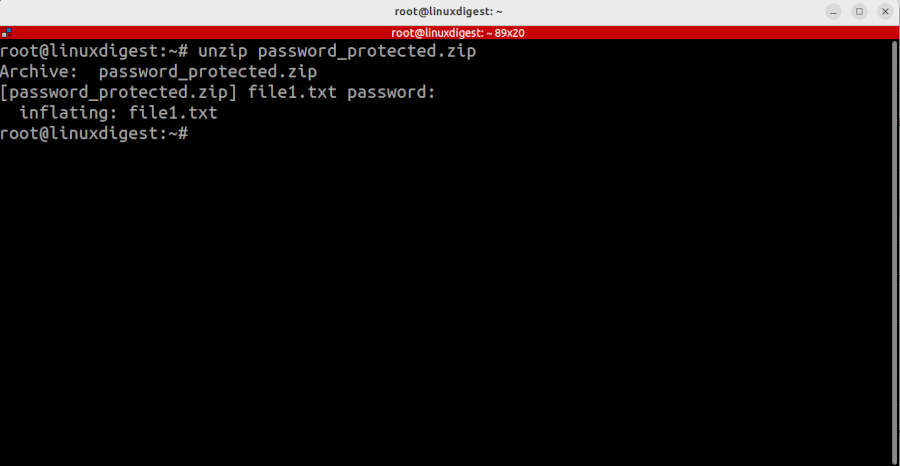
You can extract the file the same way as before. Just run unzip the same way as before and it will prompt you for a password. You don’t need to specify anything else.
unzip password_protected.zip
If you are running zip or unzip from a script you can also add the password on the command line using the upper case -P option.
unzip -P "MySecretPassword" password_protected.zip
However, this is considered insecure as the password might be visible to other users on the system through process listings or history files.
Also, note that the encryption in zip files is quite weak. If you really want to keep the contents of your archive a secret, you might want to take a look at other formats like 7zip.
I think that is enough for now
This article was originally intended as a tutorial on how to unzip zip files. I ended up adding some more stuff that I hope was helpful to you. If it was, please browse some of my other articles in the side bar.