

So you are one of those people that works on 10 things at once. Or maybe, you just need to compare the output of two commands. One of the great features of GNU screen is that you can split the screen in multiple ways. So lets’ start with GNU screen split screen.
1. Start screen
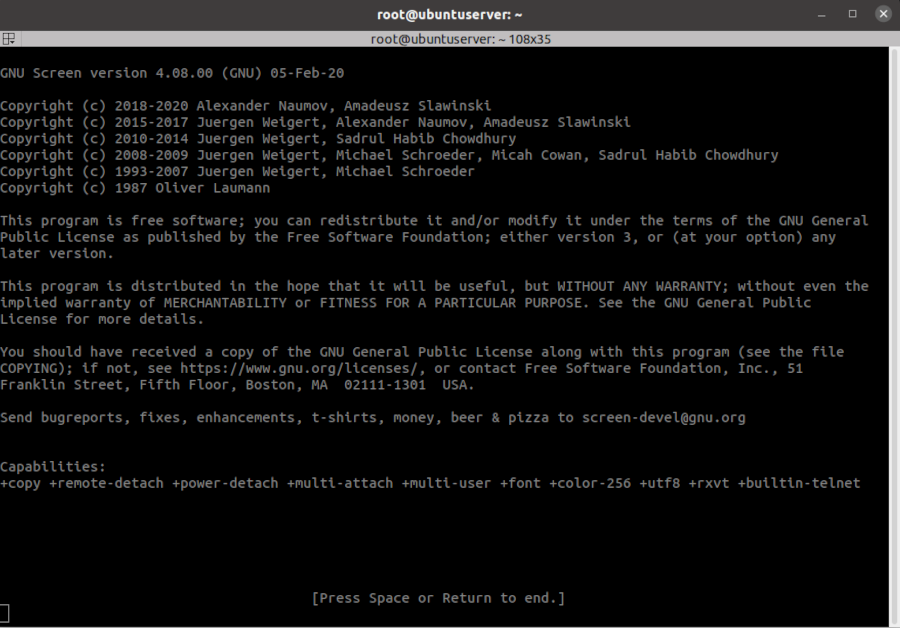
First of all, we need to start screen. To do this just enter the command screen by itself on the command prompt and hit enter.
Now you are running in a screen session. You will probably see some message regarding the license and the authors of screen. You can get rid of this message by hitting the enter key again.
You can always get out of the screen session by typing exit and closing the current shell. Alternatively, you can press Ctrl-d (the control key and d at the same time) to detach from the session without destroying it. After that you can type screen -r to resume the screen session.
2. Split the screen vertically with Ctrl-|
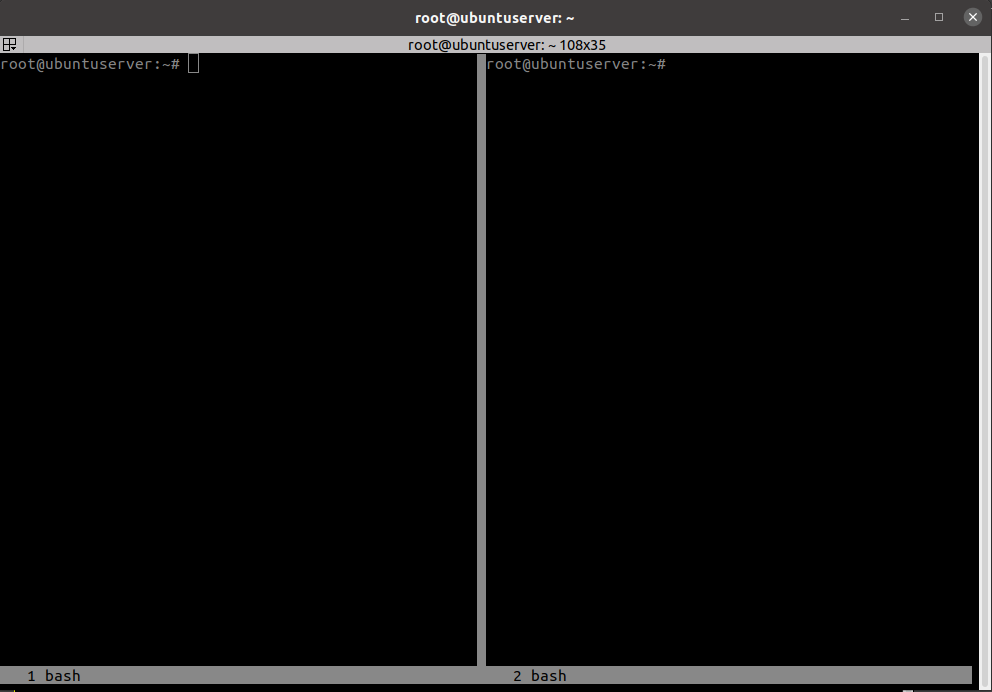
Now we can split the screen into two separate regions. Do this by pressing Ctrl-|. If it isn’t clear, the second key is the pipe (|) character. This character is output by pressing shift and / on a US keyboard and by pressing Alt and the key on the left side of Z on many European keyboards.
This will split the screen vertically. If you want to split the screen horizontally,
3. Switch between regions with Ctrl-a TAB
Now that you have two regions on the screen you can switch to the next one by hitting Ctrl-a and then the TAB key.
You might notice, that the new region is completely blank. Fix this by hitting Ctrl-a c.
4. Unsplit the screen with Ctrl-a Q
Now, lets close the first region by hitting Ctrl-a Q (note: upper case Q). This will close the region that is inactive.
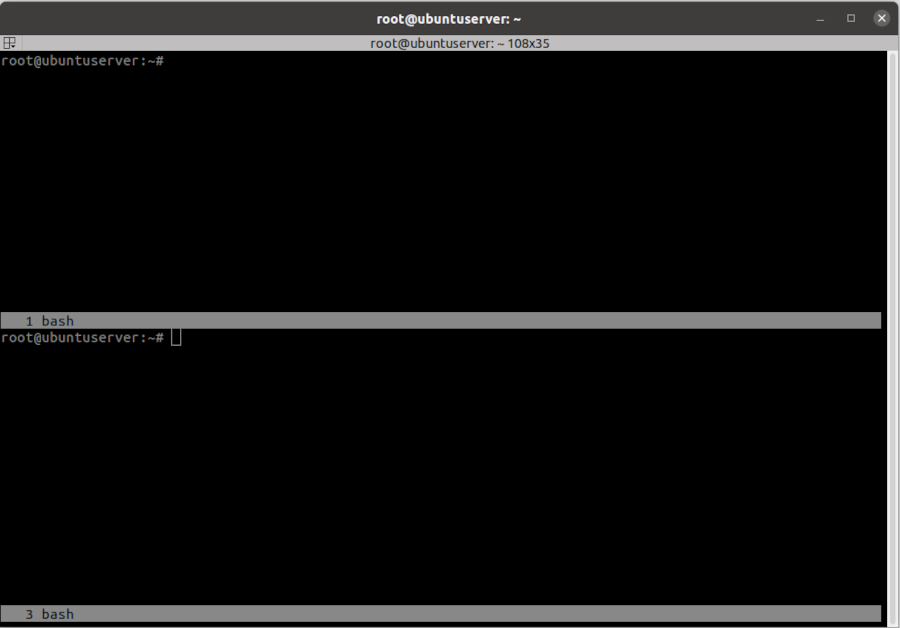
5. Split the screen horizontally with Ctrl-a S
We now have just one region. Let’s try splitting that horizontally. Just press Ctrl-a and the upper case S.
Now you have two regions. Again, switch to the new region by hitting Ctrl-a TAB. You will also have to activate the new regions shell with Ctrl-a c.
6. Split the screen into more regions with Ctrl-a |
We now have two regions. That’s nice, but we need more than that don’t we?
Switch to the region you want to split and hit Ctrl-| to split that region again vertically.
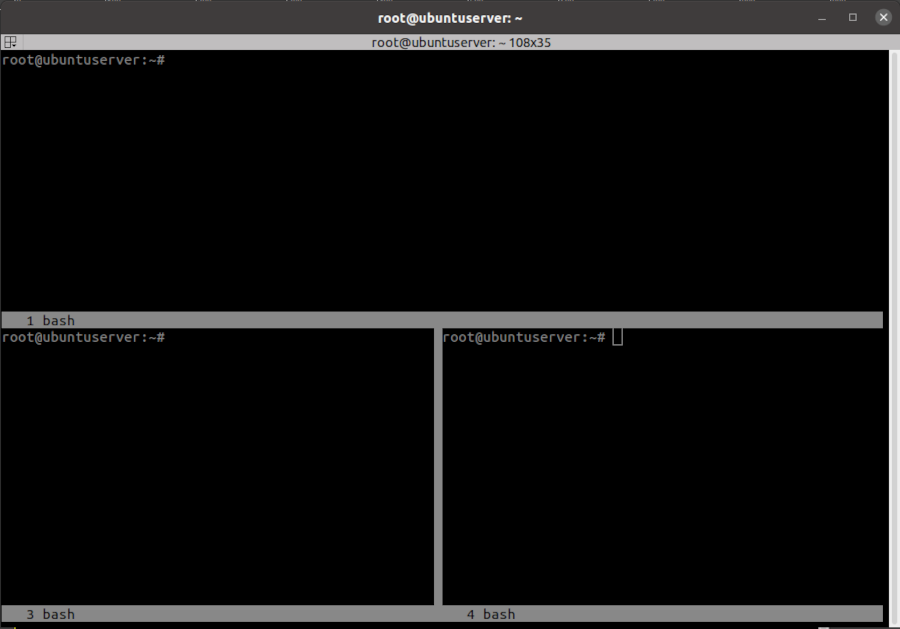
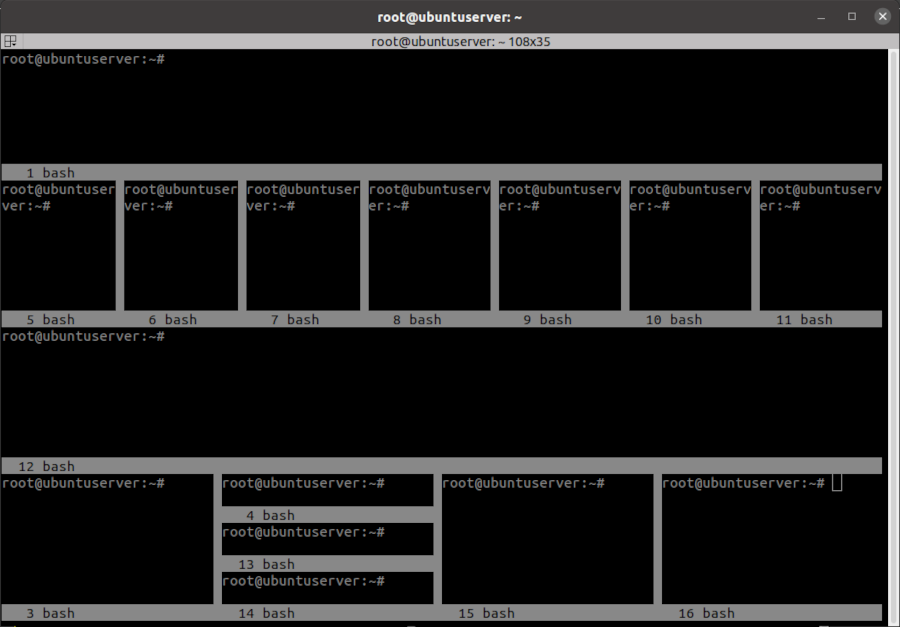
We can do this as many times as we want. The screen can be split into countless combinations of vertical and horizontal splits as well. Check out this not so convenient combination below.
7. Close just one region with Ctrl-a X
If you have opened one too many regions, you can close just one region and leave the others as is. Switch to the region you want to close with Ctrl-a TAB and then hit Ctrl-a X (upper case X).
8. Rename the region with Ctrl-a A
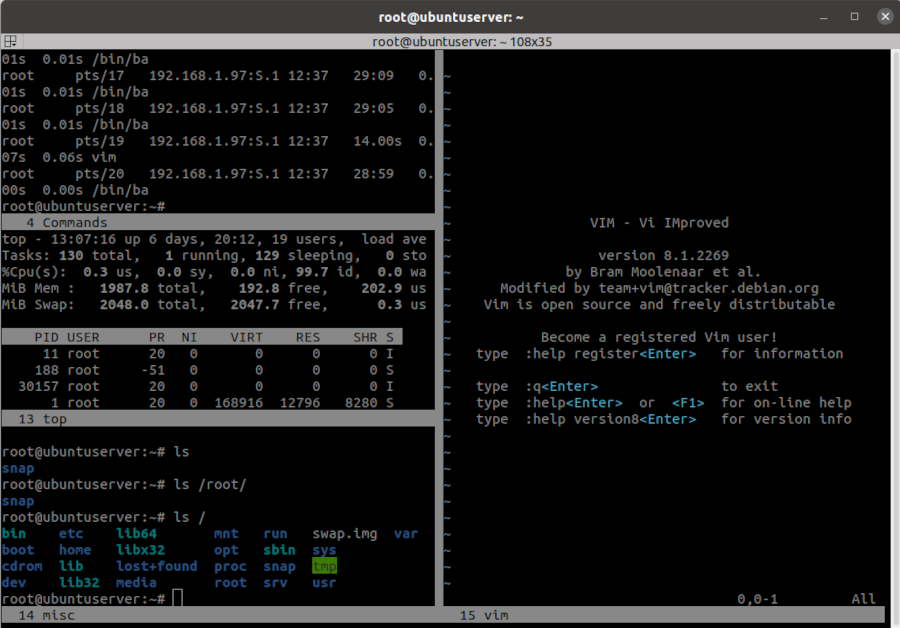
You may have noticed that each region has a number and caption that says “bash”. You can change this caption to something more convenient that explains what you want to use that region for. To do this, hit Ctrl-a A and erase the old caption. Then replace it with something more descriptive and hit enter. If you want to play more with the titles, I have a more in-depth tutorial for that here.
9. Save the layout for later use with the layout dump command
If you get into the habit of using screen to split your terminal, you will eventually get tired of having to set the session up after every reboot.
This can be solved easily by saving the layout to a text file. Which you can then load whenever you want to create a new session.
To start, you will need to get into command mode in your screen session. Do this by hitting Ctrl-a :
Now type the layout dump command. Replace “.my_filename” with the file name you wish to use.
layout dump .my_filenameThat’s it! The next time you want to start screen with this layout, just start it normally. Get into command mode again with Ctrl-a : and enter this command:
source .my_filenameYou can even have this layout loaded automatically whenever you start screen. Just add the source command to your .screenrc file:
echo source .my_filename >> ~/.screenrc10. Move to a specific region with the focus command
If you have many regions in your setup, Ctrl-a TAB might not be very convenient. Since that sequence only cycles through the regions in the order that they appear. Cycling through ten regions to get to the one above you is going to be annoying.
Enter the focus command! Go back into command mode by hitting Ctrl-a :. Now you can enter focus followed by the direction you want to move. Like if you wanted to go down one region, enter:
focus downOptions for the focus command
- next
- prev
- up
- down
- left
- right
- top
- bottom
11. Resize the area with the resize command
Another handy command for split-screen is the resize command. Normally, each region gets equal space with other regions within the same space. With resize, you can set the size of the region as you wish.
Again, enter the command mode with Ctrl-a :. To set the region to it’s maximum size you can enter:
resize maxScreen resize commands
| resize +n | Increase size by n columns |
| resize -n | Decrease size by n columns |
| resize n | Set the size to n |
| resize 30% | Set the size to 30% of its original size |
| resize -b | Set size of all regions to equal size |
| resize max | Set the size to its maximum value |
| resize min | Set the size to its minimum value |
| resize -h +20 | Increase size by 20 horizontally |
| resize -v +20 | Increase size by 20 vertically |
That’s it for now
I think we have covered everything you need to know to use screen splitting in Linux screen. If you are interested in other ways to split your terminal, you might want to take a look at tmux or the terminator terminal. The latter is the terminal that I use every day. It is the one that is pictured in the screen shots above.